Modify the name and/or the appearance (i.e. display options) of the selected graph from columns.
This dialog box appears:
Dialog box options:
|
Name:
|
Optionally, modify the name of this graph from columns. The name of the graph layer is visible in the Graph Management pane and in the legend of the graph window.
|
|
Graph type:
|
Select how the graph should be displayed: Line, Step, Bar, Needle, Point. For some examples of graph types, see the Examples section below.
|
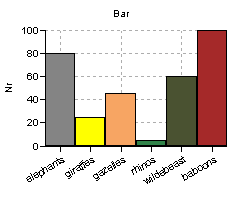
For graph type bar:
For graphs which use a class domain on the X-axis (bar diagram). See also the Examples section below.
|
Single color:
|
Use a single color for all bars of the current Y-column; select a color from the list.
|
|
Representation colors:
|
Use the representation of the class domain of the X-axis for all bars of the current Y-column.
|
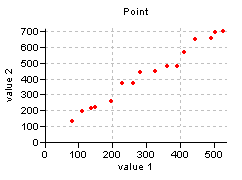
For graph type point:
For graphs where the distinct values of the X-column and the Y-column are displayed as points (scatter diagram). See also the Examples section below.
|
Symbol type:
|
Select the symbol type to display the points: circle, square, diamond, delta up, delta down, plus, minus, or cross.
|
|
Size:
|
Specify a value for the symbol size. Symbol size is expressed in points (1/72 inch), i.e. as choosing a font size in word processing packages.
|
|
Color:
|
For symbol type circle, square, diamond, delta up, or delta down:
Select a color to fill the symbols with. To obtain symbols which are not filled, select Transparent.
|
|
Line width:
|
Specify a value for the line width for the symbols. Line width values are expressed in screen pixels (for on the screen) and in dots (for on the printer).
|
|
Line color:
|
Select a color to draw the (outer lines of) symbols.
To create your own color, click the little create button or select the 'Custom' item at the bottom of the list; the Windows Color dialog box will appear.
|
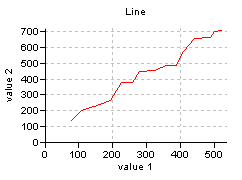
For graph type line:
For graphs where the distinct successive values of the Y-column are connected by the shortest possible line. See also the Examples section below.
|
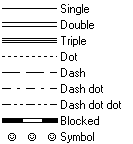
Line type:
|
Select a line type in which the graph should be displayed.
|
|
Color:
|
Select a color with which the graph should be displayed.
To define your own color, click the little create button or select the 'Custom' item at the bottom of the list; then, the Windows Color dialog box will appear.
|
|
Support line:
|
For line types Single, Dot, Dash, Dash Dot, Dash Dot Dot and Symbol:
- Select this check box when an extra support line should be drawn below the selected line type. Subsequently, specify the color of the support line in the Background Color list box in this dialog box.
- Clear this check box when the line should be drawn in a single color.
|
|
Background color:
|
When a support line is specified for line types Single, Dot, Dash, Dash Dot, Dash Dot Dot or Symbol: select an extra color for the support line.
For line types Double, Triple or Blocked, select an extra color for the inner part of a double, triple or blocked line.
|
|
Line width (mm):
|
Specify the line width (mm) with which the graph should be drawn in the graph window and in which the graph should be printed.
- When you accept the default line width of 0.0, the line will be drawn as fine as possible (hair line), i.e using a width of 1 pixel on the screen, and a width of 1 dot on a printer.
- When a support line is specified, this option refers to the line width of the support line; the selected line type will be drawn as fine as possible.
|
|
Block distance (mm):
|
For line type Blocked:
Type a value for the distance between the blocks (mm).
|
|

|
For line type Symbol:
Click the Symbol button to select a symbol, a symbol size, and a rotation. You can use simple symbols or a symbol from any installed symbol font. The Line Symbols dialog box will appear.
|
|
Symbol distance (mm):
|
For line type Symbol:
Specify a value for the distance between the symbols.
|
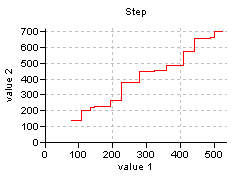
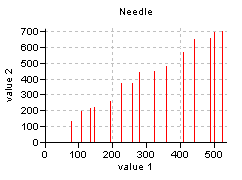
For graph type step or needle:
Step: For graphs where the distinct successive Y-values should be connected by a horizontal and vertical line. Needle: For graphs where a vertical line should be drawn from the X-axis to each distinct Y-value. See also the Examples section below.
|
Color:
|
Select a color in which the graph should be drawn.
|
Other options:
|
Use Y-axis Left / Right:
|
Select whether you wish to display the values while using the Y-axis on the left or the Y-axis on the right.
Mind: The Y-axis Right has to be switched on manually in the Graph Management pane.
|
Tips:
Examples:
See also:
Graph window : functionality
Graph window : Graph Management
Graph window : toolbar
Graph window : menu commands
Add graph from columns (dialog box)